All Categories
Featured
Table of Contents
7 Simple Techniques For Infrared Heaters Outdoor Archives
A handful of exterior heating systems are fitted with integrated heating controls, such as a warm dimmer button or a dial to change in between warmth settings. Despite their name, these heaters are commonly designed exclusively for usage in interior or covered areas.
Delight in pleasant outside enjoyable all year long from a crisp autumn evening to the chilliest of winter season evenings. Despite exactly how huge or tiny your outside amusing area we have actually obtained the ideal outside area heating system to maintain your guests cozy cozy and also maintain the party going much longer.
For wall surface installing, the least expensive part of the heating unit should be situated at or above a minimum height of 1. 8m from ground level, so that the heating system can not be touched when in procedure. Constantly install horizontally and also do not place the heating unit at an angle of more than 90 as well as less than 45 The heating unit must constantly have a minimum clearance of 0.
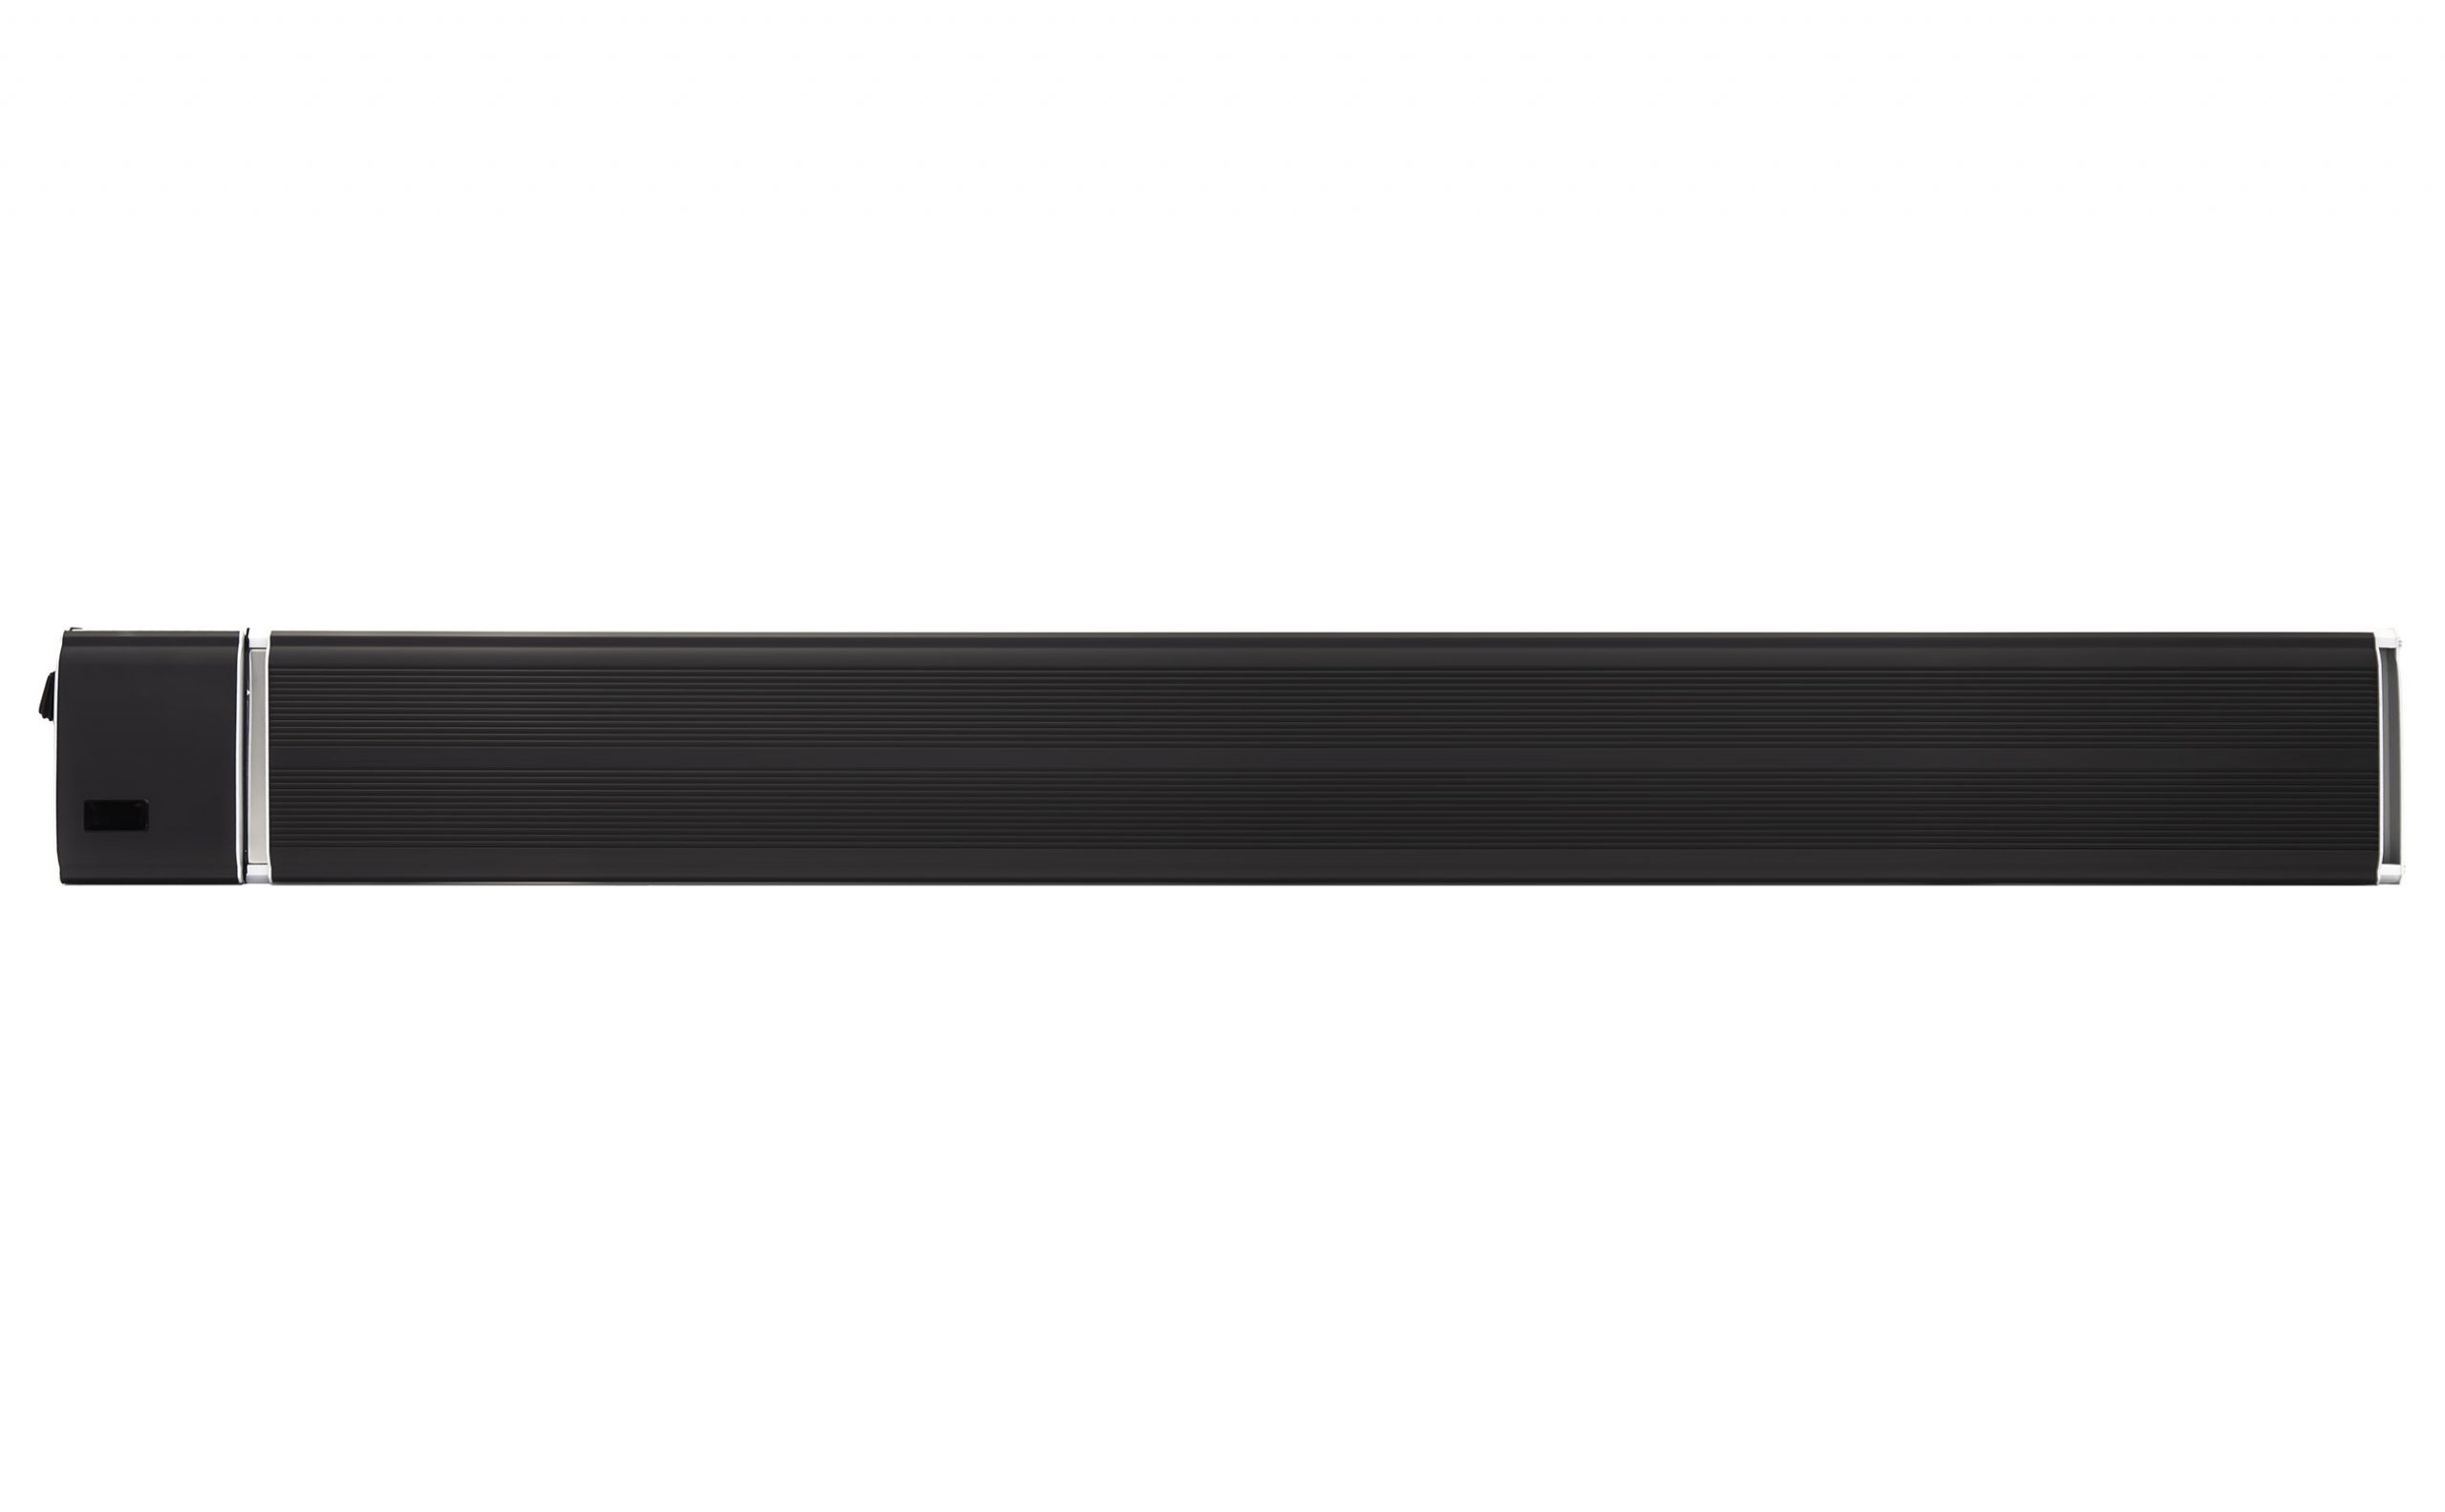
Getting The Ambe Rir3000 Outdoor Electric Infrared Heater (3000w) To Work


The heating system needs to be set up on the placing braces provided. Attach the heater securely on the braces utilizing the nuts as well as screws supplied. The braces can be made use of to change the direction of the heating system. Adjust the heating unit angle by loosening up both bolts on the wall mounting bracket. Tighten up the screws once again when the wanted angle is reached.
%20for%20Dummies)
Table of Contents
Latest Posts
What Is The Best The 30 Best Bbq Side Dishes Out There
What Is The Best Weber Go-anywhere Charcoal Barbecue Right Now
What Is The Best Your Go To For Apartment Living On The Market Today in 2022
More
Latest Posts
What Is The Best The 30 Best Bbq Side Dishes Out There
What Is The Best Weber Go-anywhere Charcoal Barbecue Right Now
What Is The Best Your Go To For Apartment Living On The Market Today in 2022